Showing posts with label DIY. Show all posts

July 8, 2013

DIY: bows

So I have been kinda bad at this blogging thing...but here is a cute, easy and fun diy project!
materials: fabric scraps, thread, needle
step 1: lay out fabric square (mine was 6 by 3 inches ish)
step 2: fold so long ends overlap
step 3: fold so short ends overlap 
step 4: sew all folds together
step 5: pinch so to make a bow shape
step 6: sew through all these layers 
(after secured, I snipped the first threaded holding it together, but this is optional)
step 7: hooray! you made bows! secure with cute fabric or yarn in the middle
step 8: hot glue to bobby pin or clip for your hair (like the first pic above)
step 9: make friends jealous with your mad skills! 
Much love,
Sara

April 26, 2013

DIY: Pom pom hat

Woohoo a DIY! Even though spring is hopefully around the corner I decided to place a pom pom on top of a simple hat I've had forever!
Supplies: yarn, hat, scissors, hand
1) Wrap yarn about a trillion times around three fingers.
2) Once to desired thickness, tie another piece of yarn around the other direction to secure yarn together. Slide off fingers!
3) Cut loops of wrapped yarn to create pompom.
4) Sew to hat!
5) Wear while blogging and realize how much you miss doing DIY posts!


Much love,
Sara

December 29, 2012

DIY: Tie blanket


Hooray for DIY christmas gifts! I decided to make Riley a large tie blanket so he could wrap up and stay warm while I am away in Spain. So I was going to go with the traditional tie blanket but I found this tutorial for tying but with smoother and cleaner edges. 


Supplies: Two pieces of fleece (1-3yds. is standard, I used 2.5 yds.), safety pins, scissors, ruler, paper

1. Lay out fleece so edges line up and safety pin together.
2. Cut out a square of the corners. Look at the tutorial I used (I forgot to take a pic).
3. Using the paper, cut out a template for the length and width of your fleece strips. 


4.  Using the template cut strips for each side. As you cut a strip flip fleece strips so they lay flat on top of the top fleece. 
5. Once you have cut your strips go back around and and cut a small slit in each strip. 
6. Thread both fleece strips through the small slit.


Overall, people have said it takes longer but I think it was more convenient and looks much better than the traditional tie style! And even more importantly I think Riley loves it! 
Much love,
Sara

December 15, 2012

DIY: fabric banner

So it has been a long while since I have been here...I finished up my fall semester yesterday morning with an oral spanish exam. Now I am only constantly refreshing the grade page to find out if my grade calculations were correct. *Fingers crossed* But now that time is back more on my side I have a fun and easy DIY! Boy have I missed crafting!

What you will need: 
fabric squares (mine were free from the ikea store), large needle, embroidery thread


1) Lay out squares in a pattern you like. 
2) Thread needle
3) Pull needle and thread through one top corner to the other
4) Repeat step 3 for all fabric squares
5) Tie ends in knots
6) Hang up and enjoy


I think it is just so cute and simple and it cost basically nothing. I hope you all have a great weekend! Its so good to be finally back here:)
Much love,
Sara

November 2, 2012

DIY: Embroidery Paper

Woohoo a DIY post....How to embroider paper! 
Here is what you will need:
embroidery floss, needle, paper, tape, scissors, a design in mind

1. Draw your design on thicker paper.
2. Poke holes with needle on design lines.

3. Thread needle. Find good starting spot and push needle and thread through hole. Tape end of floss.

4. Continue going in and out of holes, so the yarn is every other.

5. Once you hit the end go back through to fill in the holes and taping the ends once more.


6. Continue until you are please with the embroidery. 


I have already made two of them and I think they are so cute! Have fun making them. If you do make one I would love to see it, twitter @sararendall, instagram @schrendall or email me at ohhoneydontworry@gmail.com.
Much love,
Sara


October 21, 2012

DIY: Dream catcher

Here's a super easy and cute DIY for you all (though the directions are long...haha)! 
So for some reason I was suddenly obsessed with dream catchers. Why? Maybe because of they're fun whimsical and cheap to make! I've made a total of 6 so far and have even given a few as gifts! 


So here's what you will need: wire, yarn, string, beads, or anything that could be made into a dream catcher (sticks? pipe cleaners? leaves? feathers?)

1. Make wire (or sticks, pipe cleaners, etc) into circle. Securing it by wrapping ends around each other.

2. Wrap yarn around wire so there is no wire exposed, if you please. Secure yarn with knots.

3. Then I used another string to create the inside web. You can do this in a couple ways.
     a)The first ones I made I just went back and forth creating a star like web. This is über easy to do.


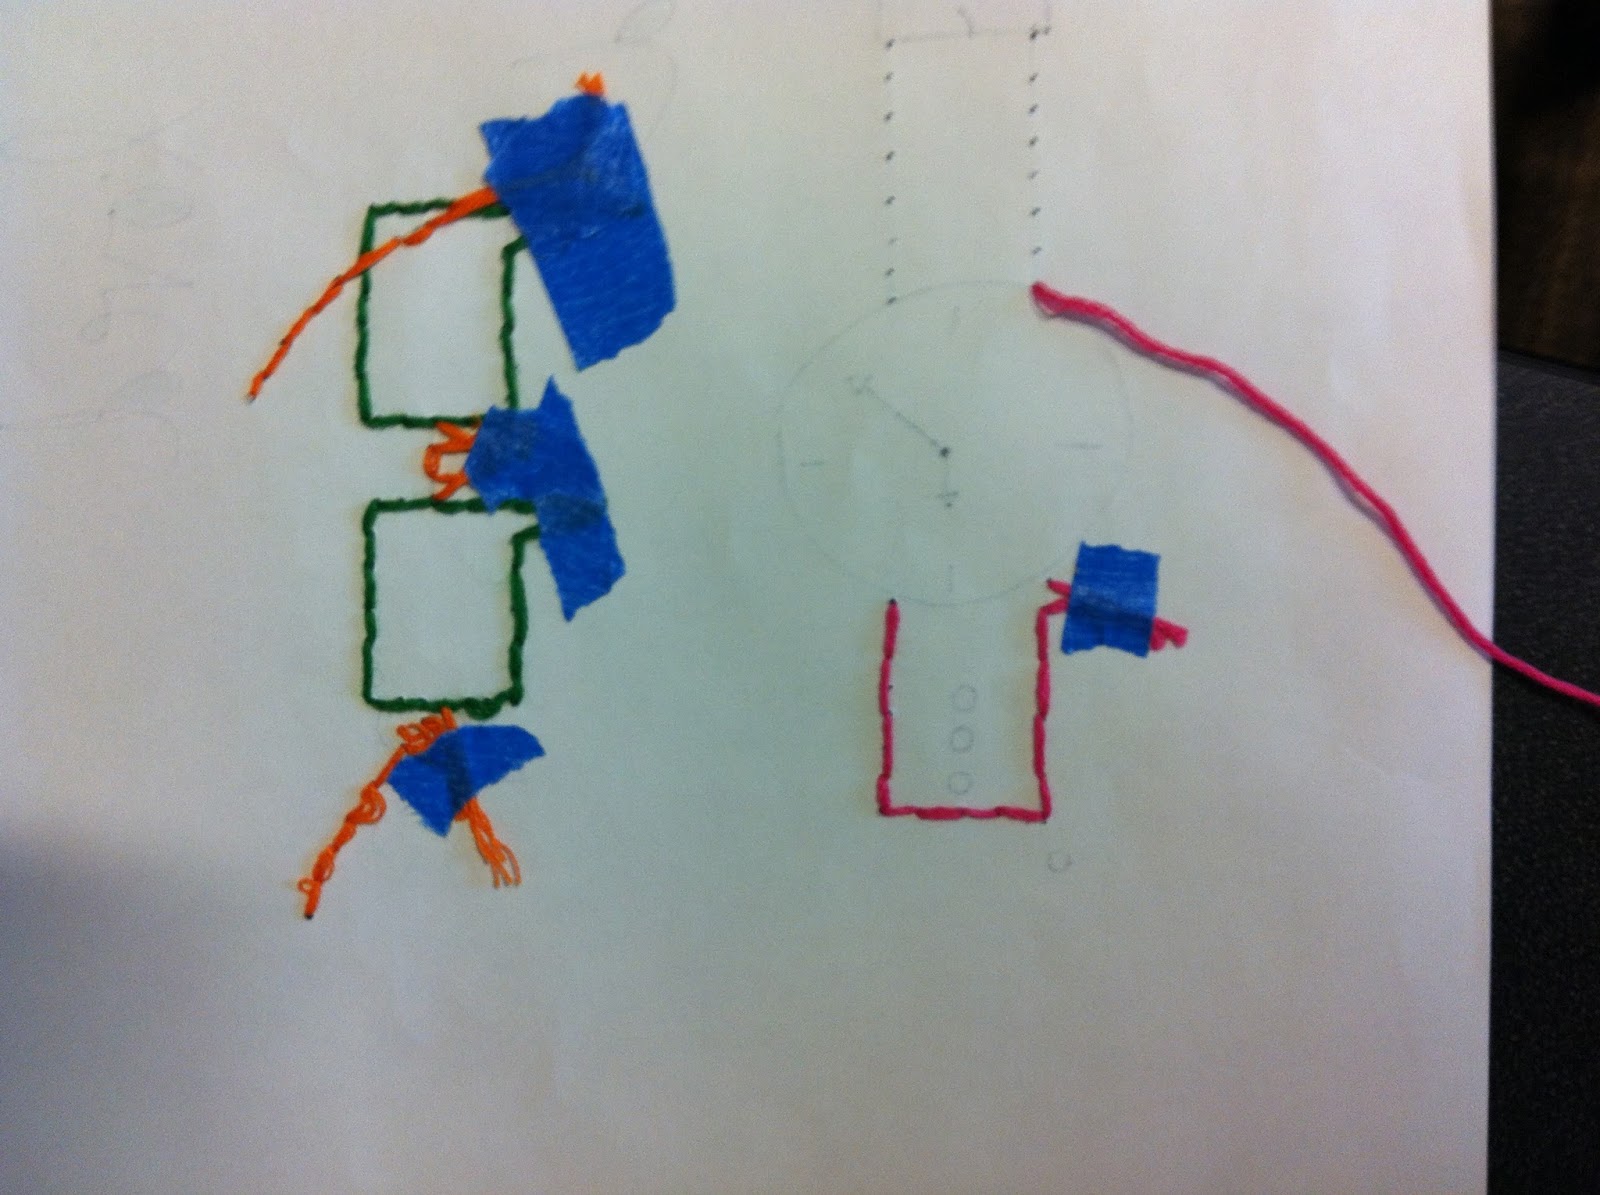
     b) Two, wrap yarn around wire like the first picture below. Continue until you reach the beginning                                      
          and then continue wrapping the yarn within the first layer. Continue until you are happy with the
          web. Make sure to pull it tight as you go so that it won't become as off-centered as mine. Looks 
          complicated but is easy once you play around with it.


     c) Finally, If you have any crocheting or knitting skills, use them! I just created a magic circle (look   
        up how to crochet a flower and it will say). Basically I just randomly crocheted until I was happy 
        with how it would translate into a dream catcher. Trial and error for this technique.

4.  Add beads if you want to the ends or within the web.

5. Enjoy your creation!

The closest dream catcher was made with the crochet, the second and third were made with second web technique.

 If you have any questions, let me know! Have fun filling your home with these cute guys!
                                                                                                                                                 Much love,
Sara


September 5, 2012

DIY: Ombre Shirt

Heres another DIY for you all!
 Ombre is super popular so I decided to give it a try myself.


What you will need:
White cotton shirt
Rit Dye (liquid or powder)
Bucket 
Stirring tool (I used a measuring cup)
Rubber gloves
Salt (only if using liquid dye)


1) Mix proper amounts of Dye and salt to warm water. (I had a gallon size ice cream pail that I filled 3/4 with warm water, I used about 1/3 of the dye in the bottle and a 1/2 cup of salt...but the directions are also on the bottle.)

2) Dip bottom section of shirt for 10 minutes in the dye.
3) After 10 minutes place next section along with bottom section in the dye bath for 7 minutes.
4) Continue this process until at top of the shirt using time diagram above. photo cred here.
5) After dyed rinse shirt with hose outside or in a non staining sink/tub. Run the water on shirt until water runs clear.
6) Hang dry for 24 hours.
7) Wash alone in washer and then dry in dryer!
8) Wear and enjoy!


 This is my shirt after being rinsed. I don't have pictures of the shirt finished but I have worn it lots and get compliments for it every time. My shirt came out more dye-tied then evenly dyed but I still like how it turned out. To get a more even dye I would recommend a larger bucket that is rectangle in shape so that you don't have to squish the garment in. I love dying clothing. So I defiantly recommend trying it for yourself! 
Much love,
Sara

August 21, 2012

DIY: Plastic Drawer Covering


So if you didn't know this already I am kind of obsessed (and by kind of I mean full fledged love for it) with pinterest, especially pinterest crafts! So here is one I found thought it would be an easy thing for my dorm and it only took 10 minutes!


1) Gather supplies: Plastic drawers, Scrapbook paper, Scissors, Tape

2) Measure desired paper to fit drawer fronts, sides or back.


3) Cut all paper to desired sizes.

4) Use tape to tape paper in place. (I used normal one-sided tape rolled into loops at the top and at the bottom taped it to the paper and the bottom of the drawer...if that makes sense).


I did not put paper on the sides mainly because I didn't feel like it...haha. But I think it still looks cute. Have fun customizing your generic plastic drawers!

Much love,
Sara